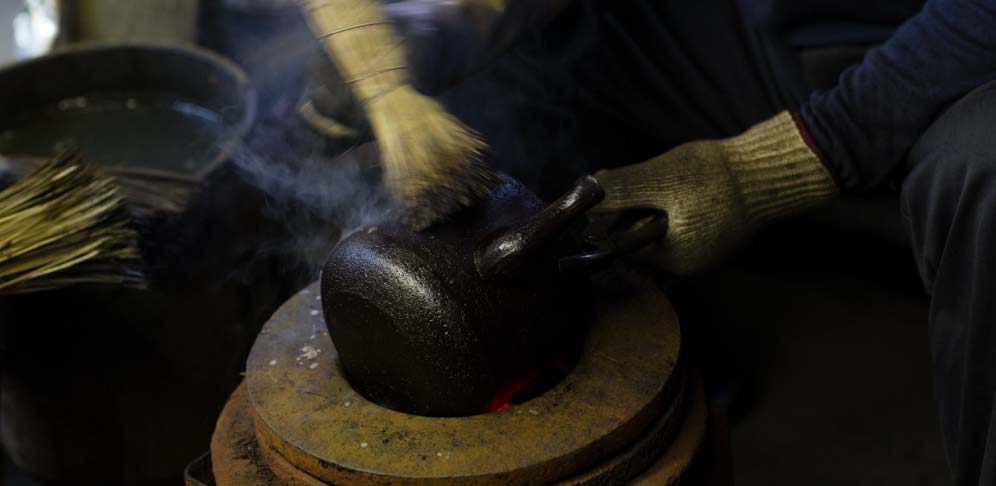
Nambu tekki kettle manufacturing process
Workshop in Minami Semboku
The accumulation of each technique creates beauty and ease of use.
The world of Nambu tekki kettles created by craftsmanship and aesthetic sense
Workshop in Minami Semboku
The accumulation of each technique creates beauty and ease of use.
The world of Nambu tekki kettles created by craftsmanship and aesthetic sense
Unique patterns and shapes, including detailed arare patterns.
Iron kettles, which are a condensation of craftsmanship and aesthetic sense, best represent the tradition and formality of Nambu tekki.
It is made using a method called the ``yakimata method,'' in which pig iron is poured into a mold made of sand.
The product is completed after going through numerous steps, including making the mold, casting, and coloring.
Also, only one product can be made from one prototype.
At the Semboku factory, you can see up close the skills of Nambu tekki craftsmen called ``Kamashi.''


